
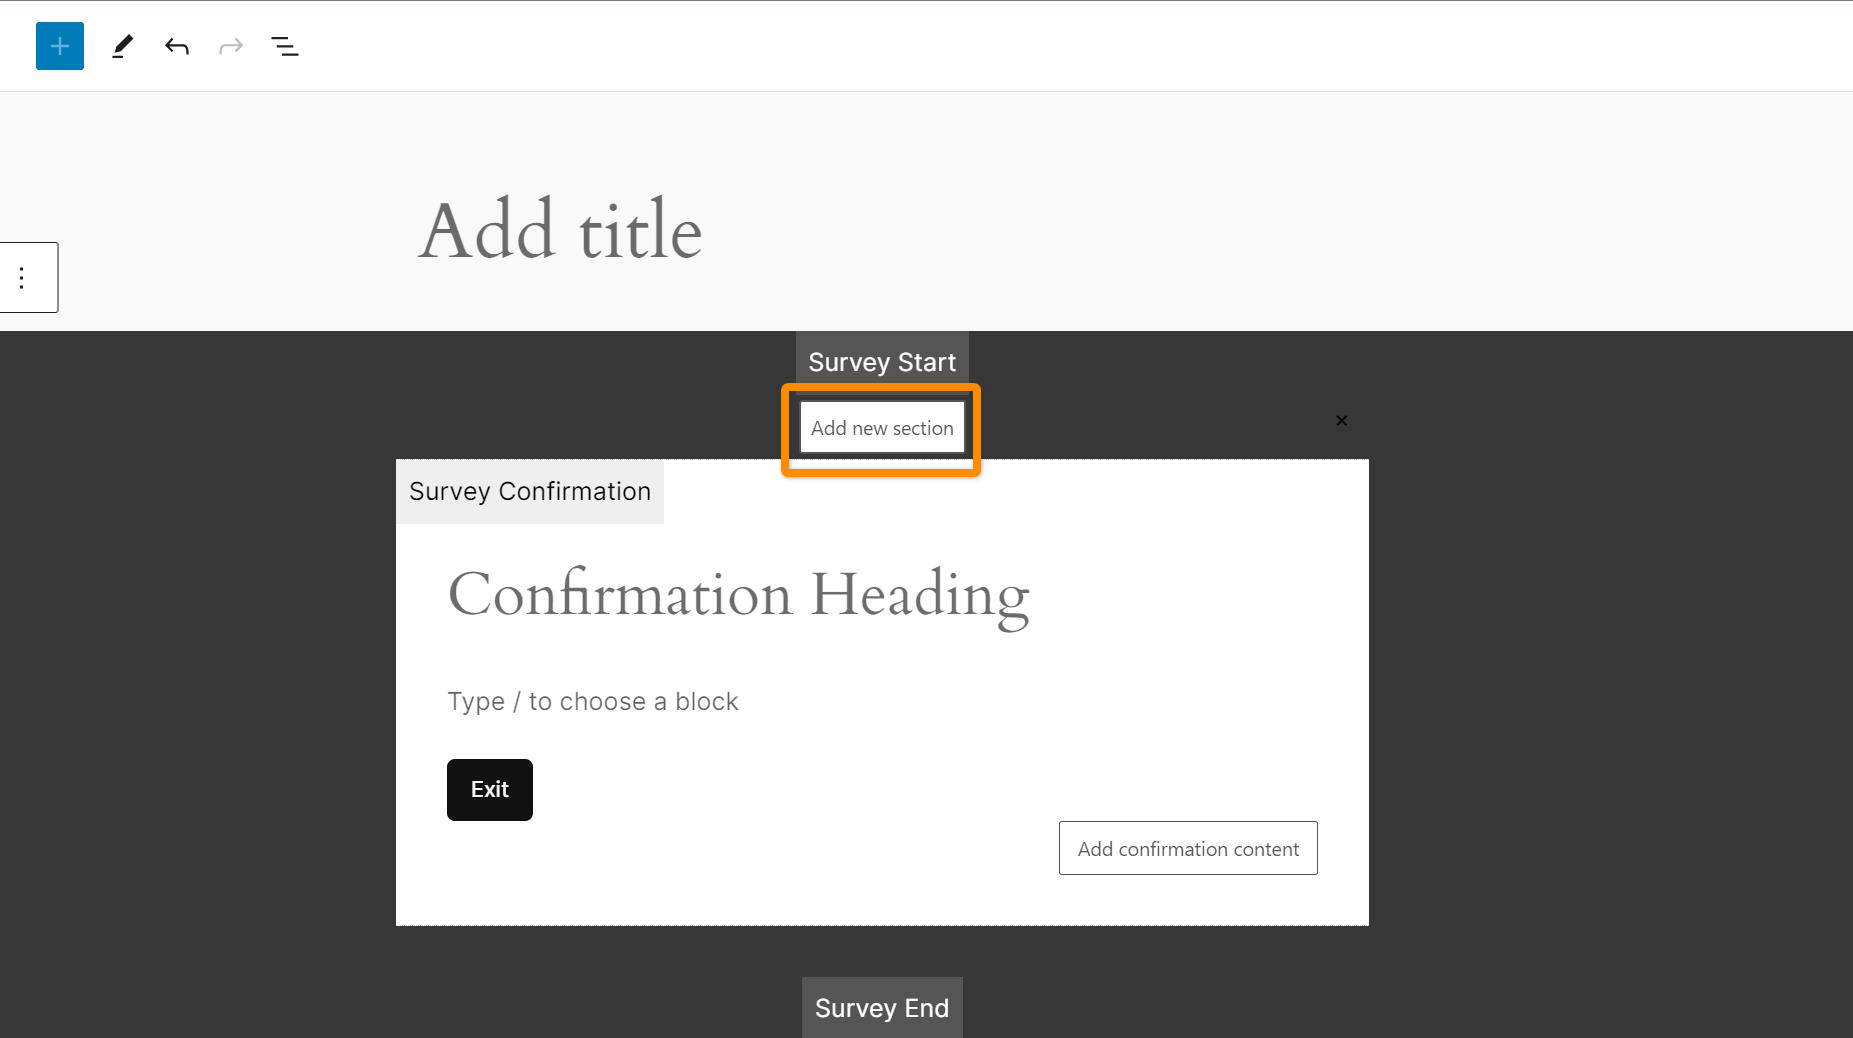
1. Click on the button Add new section to add your offer section.
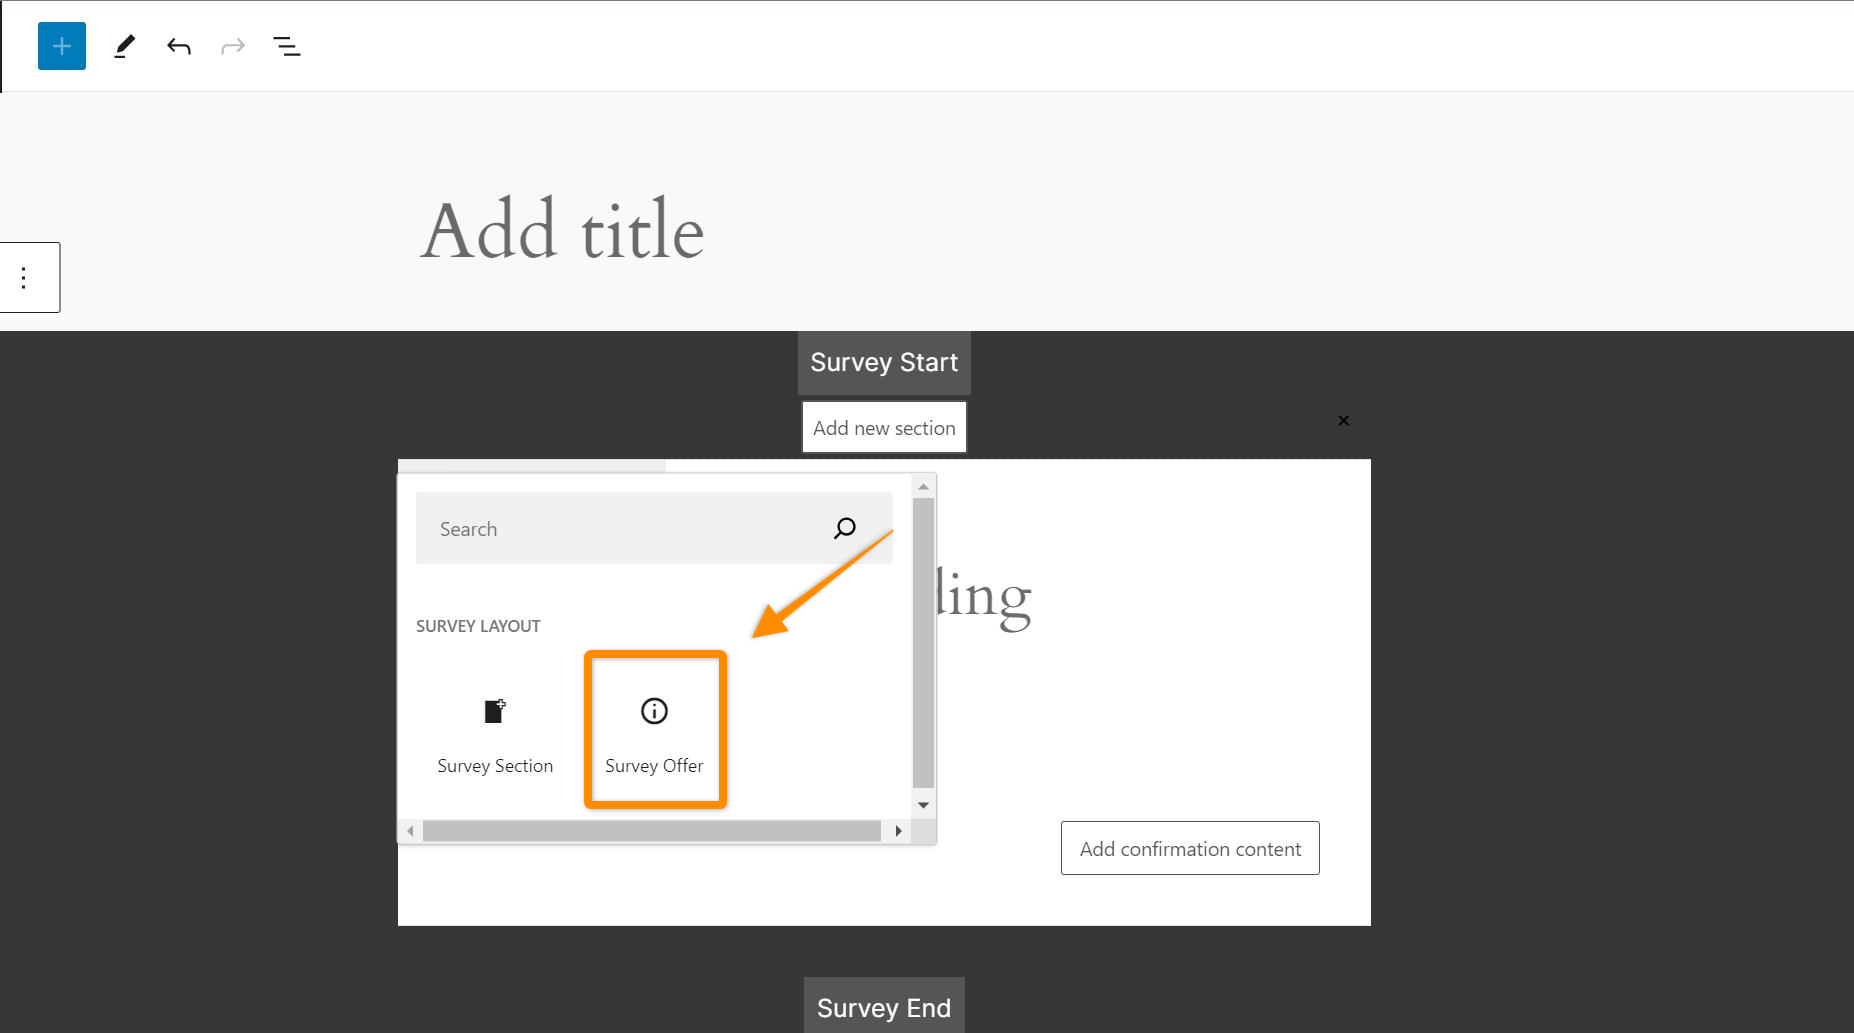
2. Click on the Survey offer option
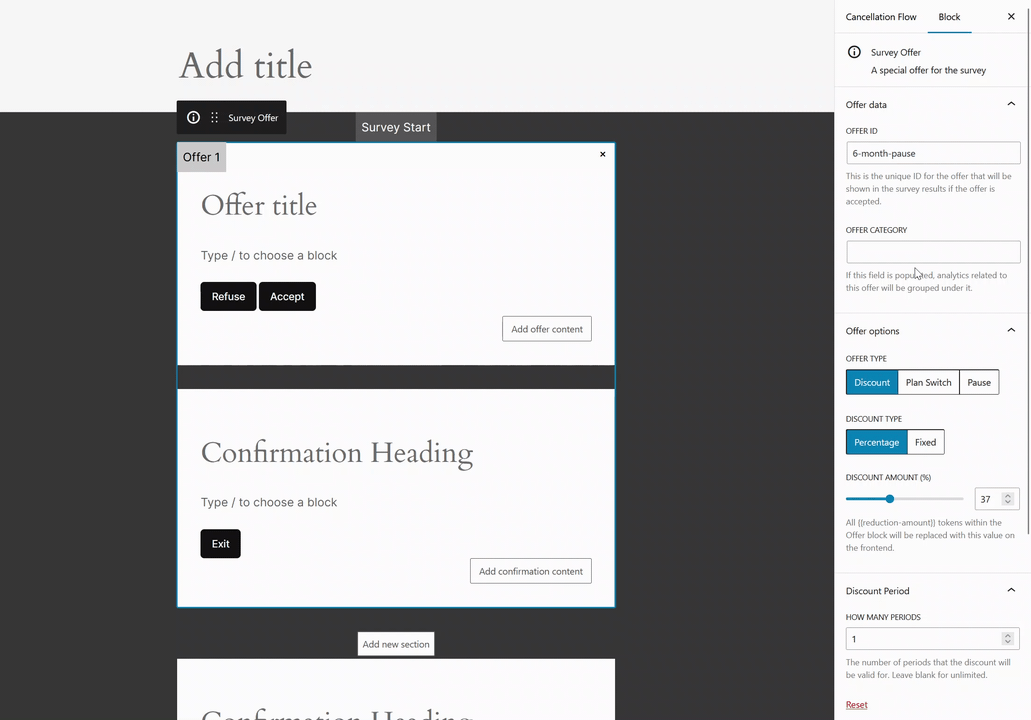
3. The offer section appear and you can start setting it up. Let’s start with the Offer ID. This field is the name that will appear in your analytics everytime this offer is accepted or rejected. If left empty it will be automatically populated with your Offer title. In this case I will fill it with the type of offer ‘6-month-pause’
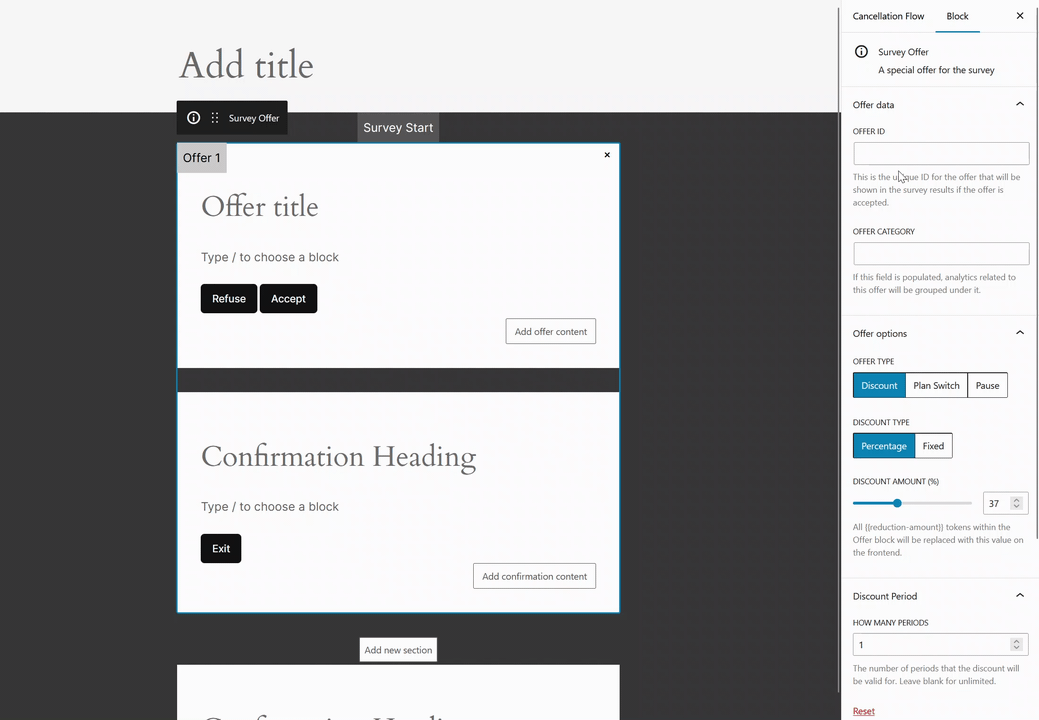
4. If you want to categorize your offer you can create the category there. For example in this case we can add the category Pause and we sill enter this cetegory for all our offer to pause the subscription so in our analytics all the pause offer will be groupped under the Pause category.
You can also leave it empty if you dont want to group the offers yet.
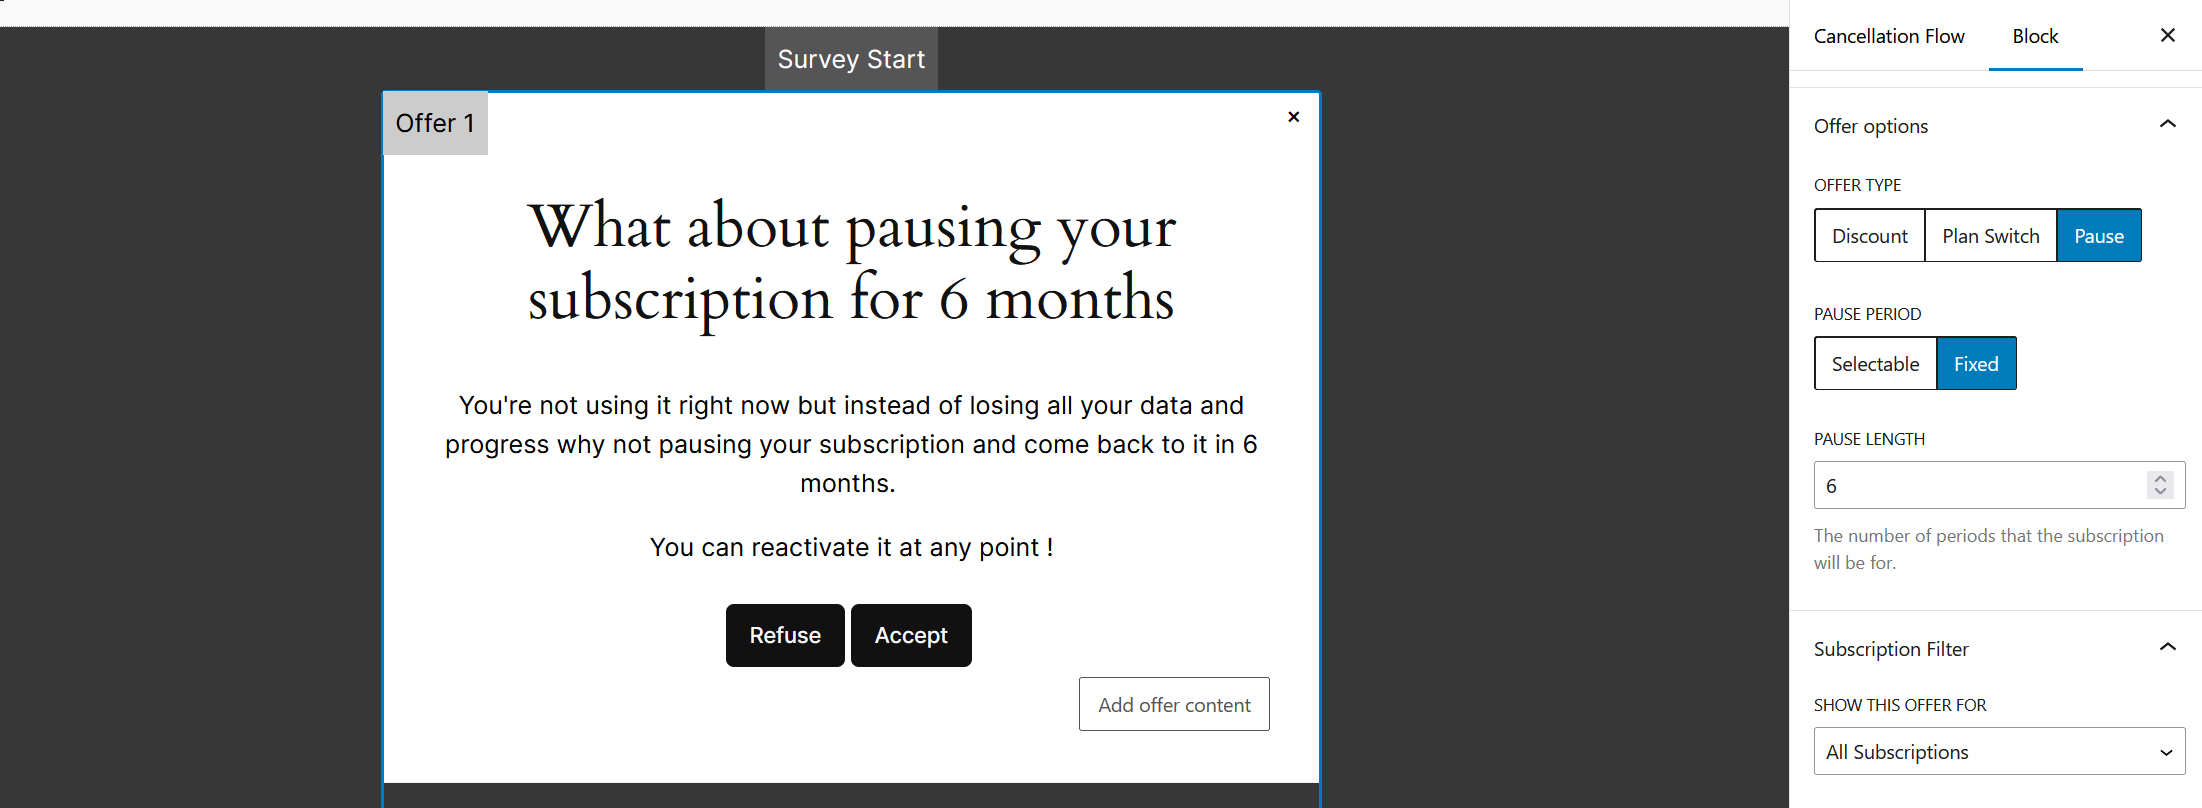
5. Select the type of offer you want to present. In this case we want to show a pause offer so we’ll click on pause and the different pause options will appear.
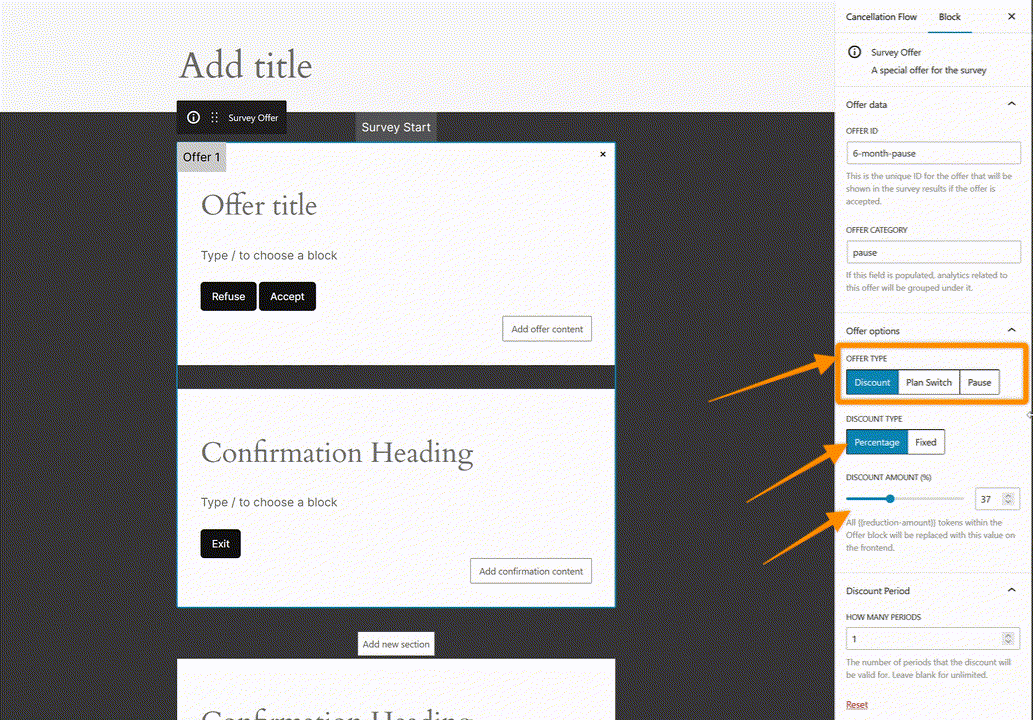
You’ll have the choice between:
- Selectable: you give the option to your customers to select a certain pause period up to a max length. With the selectable option a drop down will appear in your offer slide and your customer will select the pause length they wish to apply to their subscription.
- Fixed: you don’t offer the choice of period, you fix a pause length.
6. Fill your offer slide that will appear to your customers.
7. Fil the confirmation slide that will appear when your customer accept the offer.
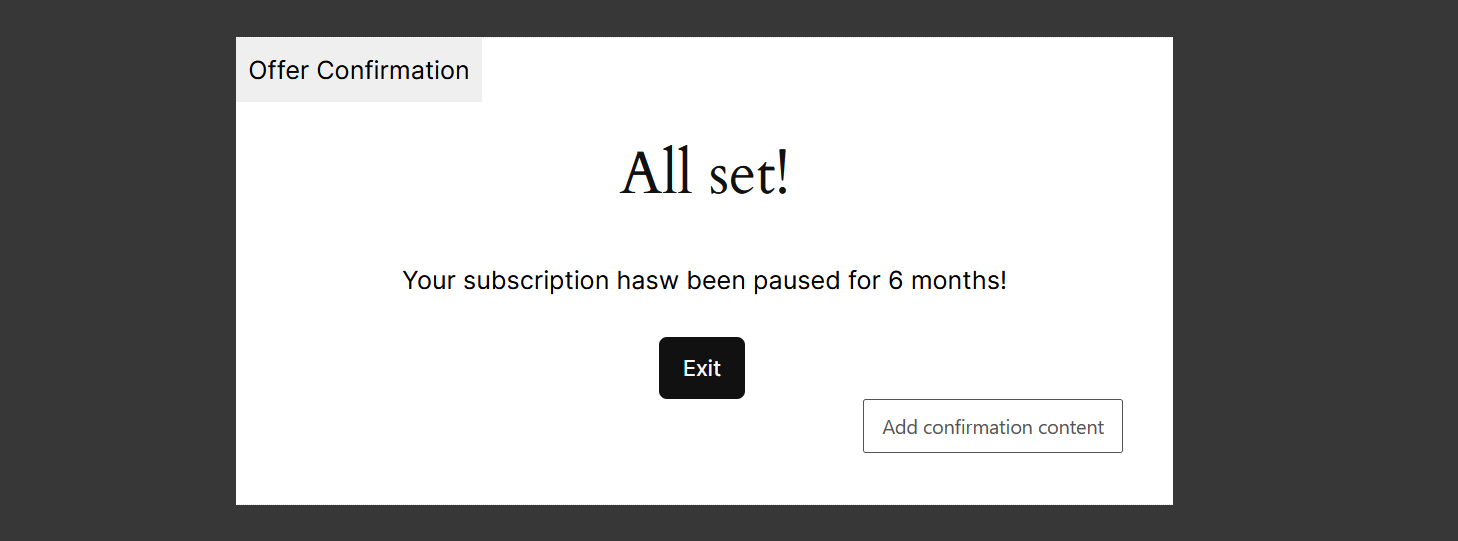
That’s it you’re all set with a pause offer. Don’t forget to save your edits.